Banana Monkey Destruction Hub
Stage-by-stage route · checked August 20, 2026

Banana Monkey Destruction Progression Guide

A practical route from the first repeatable target through banana upgrades and rebirth recovery, with live-check boundaries for changing thresholds.

Current guideBanana Monkey Destruction progression guideGame-specific steps
Quick answer

Do this first

Use five stages: stabilize one easy target, spend bananas on one visible improvement, test a larger target, rebirth only with a recovery target ready, then claim the free daily trainer and remeasure. A video has shown a level-10 rebirth prompt, but this guide does not treat that recording as a permanent threshold—your current server UI is the deciding source.

Mechanics

What this game-specific guide is based on

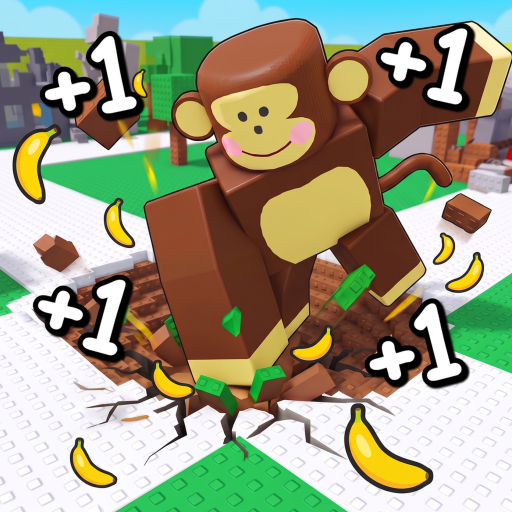
The steps below connect directly to the official description: punching and destroying, collecting bananas, upgrading stats, returning for the trainer, and becoming stronger.

Start on a repeatable object

An August 10 gameplay capture shows the opening loop on a tree: attack a visible object, collect bananas, and level through ordinary destruction. Use one small target until you can compare attempts instead of roaming between unrelated objects.

Spend bananas with a purpose

The official Roblox description connects collected bananas with getting bigger and stronger and says stats can be upgraded. Buy against a visible goal—faster damage, a shorter break, or stronger banana gain—then repeat the same target before calling it better.

Treat rebirth as a planned reset

Gameplay captured on July 29 and August 10 shows rebirth in the live loop; the July 29 run visibly returns the monkey to a smaller state. Check the current requirement and reward in your server, record a pre-reset target, and rebirth only when you know which easy object will restart the loop.

Move to larger pieces after growth

A later target should prove that your new strength changes the route. Gameplay shows individual tree and building pieces taking destruction, but it does not prove a permanent universal health table, so use the visible response rather than a copied threshold.

Claim the trainer, then remeasure

The official description advertises a free daily trainer. Gameplay also shows a training area near the lobby. Claim only what the live prompt offers, then rerun your baseline because the reward amount and current effect can change.
Step-by-step

Follow the route in order

Use the checklist when you want a repeatable session rather than a generic list of tips.

  1. 1. Record an easy-target baseline

    Use a tree or another object your server clearly marks as destructible. Note how long one break takes and the banana total before and after.

  2. 2. Choose one visible upgrade

    Open the live upgrade panel and spend only on a displayed stat or effect that addresses the baseline. Do not infer power from a Tail name or Robux price.

  3. 3. Retest the same object

    Repeat the baseline before changing targets. If the result does not improve, save bananas and check whether target choice, server state, or the upgrade's actual role explains it.

  4. 4. Test the next larger piece

    Move from the easy object to a larger building piece or another visible target only after the first loop is reliable. Keep individual pieces as the unit of comparison.

  5. 5. Prepare for rebirth

    Read the current rebirth requirement and reward on screen, note your pre-reset result, and identify the first object you will use after the reset. Rebirth UI observed in videos is context, not a fixed cost table.

  6. 6. Recover and set a new baseline

    After the visible size or level reset, return to the easy object, claim any currently available free trainer, and measure again before repeating the route.

If you're stuck

Fix the immediate roadblock

A building will not collapse

Attack another highlighted piece. July 29 gameplay shows upper sections remaining suspended after supports were removed, so a whole-building physics collapse is not a safe progression assumption.

Rebirth made you feel weaker

Return to the easy target you selected before resetting. Rebuild a measured banana loop before testing the larger object again.

An upgrade did not help

Check that it affects your chosen goal, then compare the same target. A trainer, Tail, or pass name alone does not verify damage or banana value.

Avoid this

Common mistakes

Switching targets every attempt

Different objects can hide whether an upgrade actually helped. Hold the object and route constant for the before-and-after check.

Rebirthing without a recovery route

A reset is easier to judge when you already know the first target and banana goal you will use afterward.

Buying from names alone

Trainer and Tail product names do not by themselves prove their live effect, equip rule, or progression value. Read the current purchase prompt.

Expecting support-removal physics

Observed building sections can remain floating. Progress against destructible pieces, not an assumed full-structure collapse.

FAQ

Quick answers

What is the best Banana Monkey Destruction progression order?

Use an easy target baseline, buy one visible upgrade, retest, move to a larger piece, then rebirth with a recovery target prepared. Claim the daily trainer when the live game says it is available.

When should I rebirth?

When the current UI shows a requirement and reward you accept and you have recorded a pre-reset baseline plus an easy post-reset target. A recorded level-10 prompt is not treated as a permanent rule.

Should I buy a trainer or Tail first?

Do not decide from the product name or price. Use the free daily trainer and ordinary banana upgrades as a baseline, then read the current purchase prompt for any paid product's actual effect.

Why did removing building supports not work?

A gameplay capture shows remaining building sections floating after lower pieces were destroyed. Target each destructible piece rather than relying on a full physics collapse.

What should I do after an update?

Recheck the rebirth prompt, trainer availability, and upgrade panel, then run the easy-target baseline again before relying on an older route.

Next checks

Use the next page that matches your goal